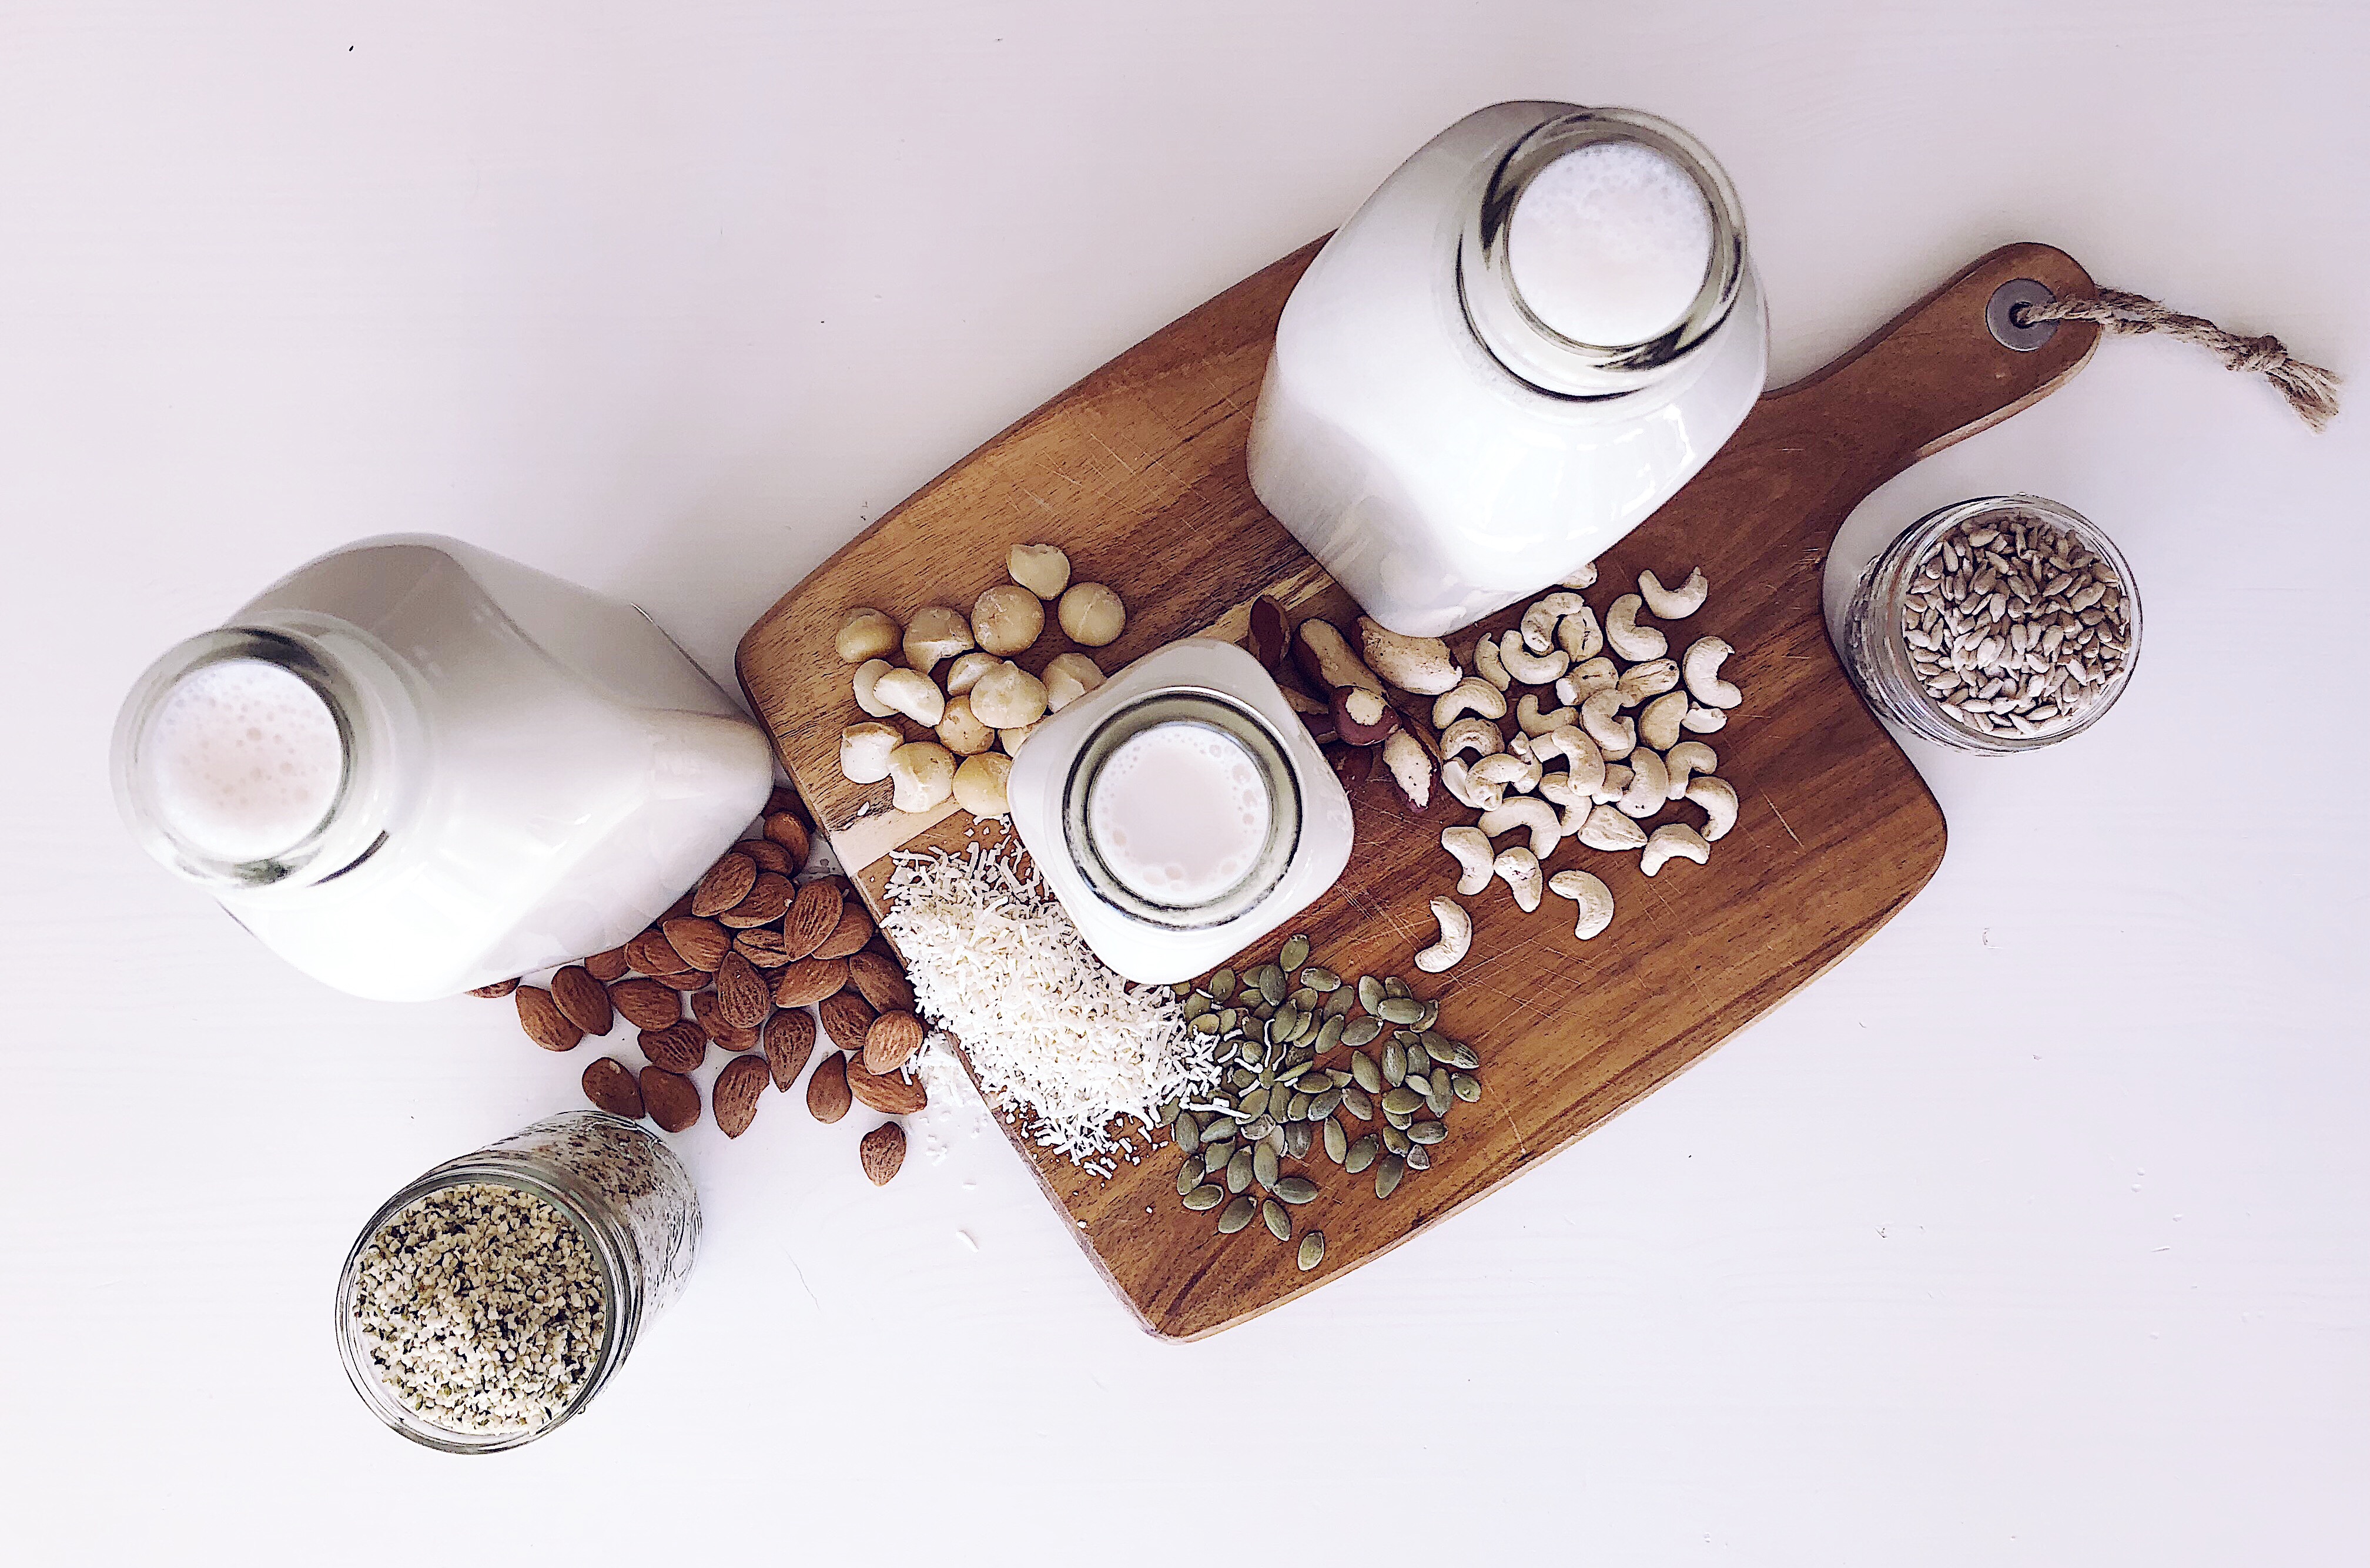
Let’s talk nut and/or seed milks for a moment.
For any of us that can’t have dairy, or avoid it for whatever reason, an alternative is where it’s at. Unfortunately any nut or seed milk you buy usually has a LONG list of ingredients (most of the ingredients one cannot pronounce) and the truth is they can contain very little actual nuts and/or seeds. Absolutely frustrating for anyone looking to avoid ingredients that aren’t actually food, and/or were hoping to the get the actual nutrients from the nut or seed milk you’re consuming!
There’s good news here though. Nut and seed milks are NOT hard to make. I’ve spoken with many mom’s intimidated by the task, until they make their first batch, then they are hooked!! First of all – you know EXACTLY whats in your milk. And usually there’s only 3-4 ingredients. Secondly, any nut or seed milk is SOOOO creamy and taste nothing like anything you could buy. Third of all, you can make ANY milk you choose. There’s hundreds and hundreds of different combinations of nuts and seeds you can combine to make delicious, creamy, fresh milk. And the best part of all – your body will thank you for all the actual ingredients it gets to use to give you energy.
The only thing you really need to get into making your own nut milks is a good high-speed blender and a nut milk straining bag. Nut milk bags aren’t expensive (usually under $15), and can be re-used for years. I recommend one like this I found on Amazon. I prefer a thicker nut milk bag, so less “pulp” gets through to your milk. Your bag will also last way longer than the thinner mesh ones.
Why soak your nuts and seeds?
Most nuts and seeds that require a soaking time prior to making milk, have natural enzyme inhibitors. It’s natures way of preserving the nut that falls from the tree and is left laying on the ground. The enzyme inhibitors allow the nut (or seed) to survive a period of time, until it receives moisture, which then releases the enzymes so it can come to life.
So by soaking or sprouting your nuts and/or seeds, you’re essentially causing the nuts (or seeds) to come to life. This in turn releases their nutrients and makes them MUCH easier to digest.
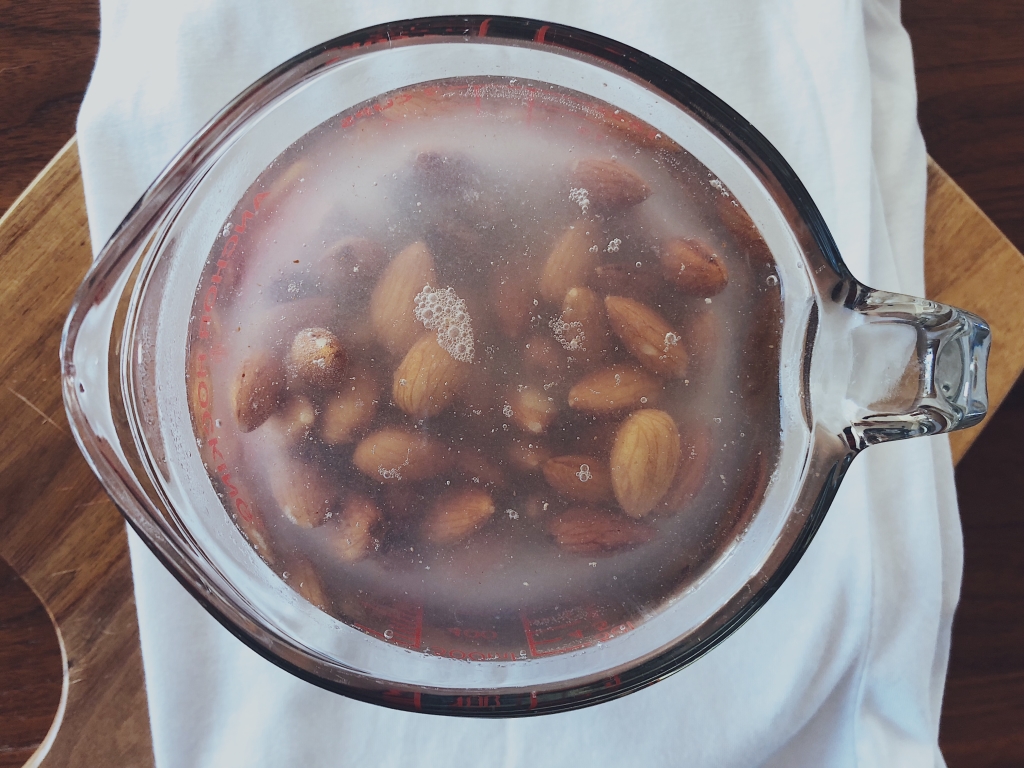
When soaking your nuts or seeds, place them in a glass jar or bowl. The unsoaked nuts/seeds should take up no more than half of the space in your container (as they expand in size when they are wet). Fill your jar or bowl with at least double the ratio of water to nuts/seeds (if they swell to no longer be covered in water, simply add more water).
Leave your soaking nuts/seeds at room temperature to sprout.
Different nuts and seeds have different times required to be soaked, in order for their enzymes to be released. To my knowledge, almonds require the most soaking time, a minimum of 12 hours. As a general rule (and so there’s less to remember) I soak most of my nuts and seeds for the entire day, or overnight so they are ready to make milk first thing in the morning. And if for some reason, my morning or evening doesn’t go as planned and I can’t get to making the milk after the nuts or seeds have been soaking for 10-12 hours, I simply put my bowl of nuts/seeds (still in the water) into the fridge. They will definitely last another couple days in water once put in the fridge until you are ready to use them.
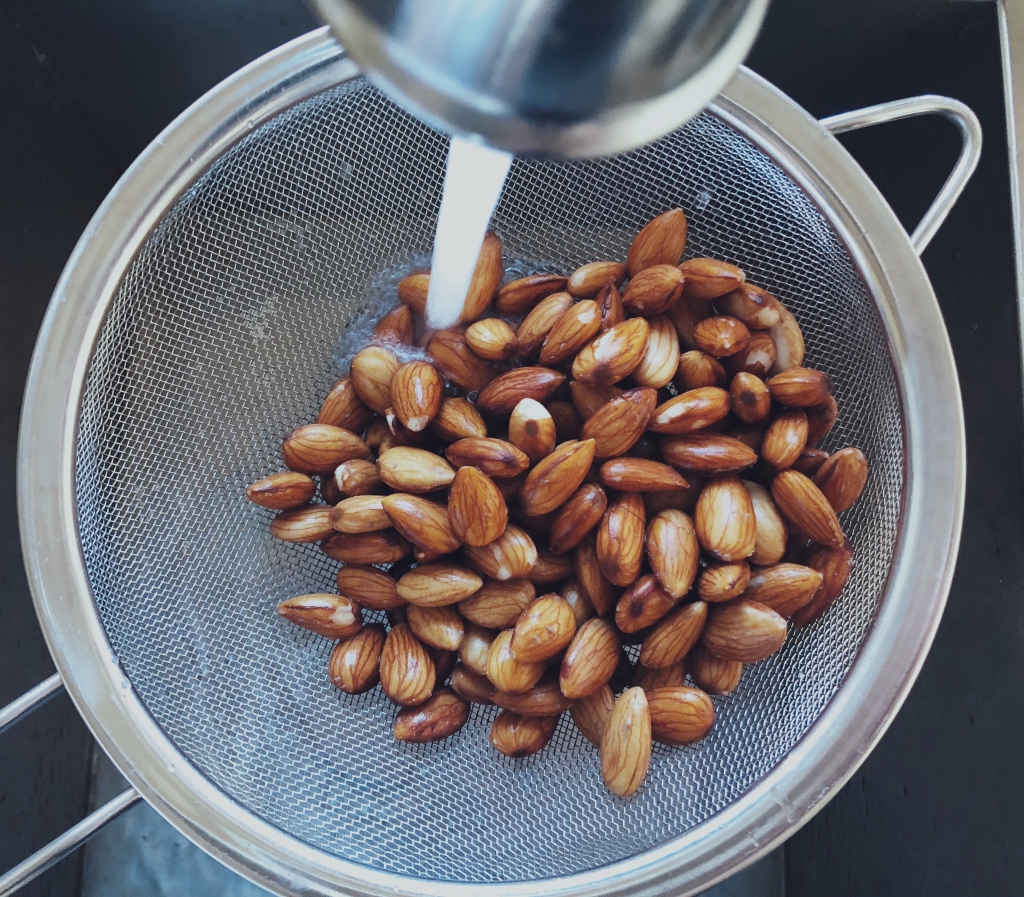
Always strain and rinse your nuts/seeds well after they been sprouting before they are ready for use.
If you’re in a rush, I’ve included a general guideline below of the minimum required soaking times of various nuts and seeds.
Soaking Times
Chia Seeds – Soak at least 2 hours
Sesame & Buckwheat Groats – Soak at least 4 hours
Cashews, Flax, Pumpkin & Sunflower Seeds – Soak at least 6 hours
Almonds & all other nuts – Soak at least 12 hours
What kind of nuts and seeds to use
Raw and organic is always best. Now don’t get me wrong, I TOTALLY understand that this isn’t the cheapest option. If I can’t find or afford organic, I’ll default to raw. You want raw nuts (that haven’t been roasted and/or salted) as they most likely haven’t been heated (where nutrients are lost) and do not contain additional ingredients like oils or salts.
Raw and organic nuts and seeds can be challenging to find, however, if you’re in Canada, I found a site that I LOVE to make my bulk nut and seed orders from… and the crazy thing… I’ve price compared this stuff. Most of the nuts and seeds offered on this site are organic, raw and they are FAR cheaper than other websites, or places like the bulk barn. Plus, I trust this place. The only thing is you have to pay shipping (which can easily add up) so we usually get a few ladies together and place a bulk order to spilt the shipping costs. Check them out – www.realrawfood.com.
Note that if you’re not used to raw nuts and/or seeds, they should be stored in the fridge for optimal freshness.
Disclaimer: I’m a busy mom. I have store-bought almond or coconut milk on hand for those times I don’t have time to make. I’m normal. I have hard, long days, or days I forget to soak my nuts or seeds. I don’t consume it often, but I have it for the days where there is just too much for this moma to do.
Nut & Seed Milk Recipes – Tips & Ideas
Let’s get into some different recipes here. Pay attention to whether the nuts or seeds need to be soaked prior to making milk and whether or not you have to strain your milk through a nut milk bag (some of these milks you don’t have to strain, which makes it that much easier!!)
Please note that these recipes are just guidelines. The quantities are based on our liking. If you prefer a creamer milk, or a milk that’s less thick, simply adjust the amount of water used accordingly.
We like to add sea salt into our milks as it’s a natural preservative and also brings out the sweetness of your nuts or seeds.
In each recipe is our sweetener of choice for that particular milk. Note you can easily use whatever sweetener of your choice. Maple syrup, a couple dates, stevia, honey or nothing can be used! When I was strict on my sugar intake, I simply made the nut milks with no sweetener and they were still amazing!
Vanilla extract (or powder) isn’t a necessity, but it certainly adds a nice flavour. Your choice to use it or not.
A good idea (so you have next to nothing for waste) is to reserve about 1 cup of water from going in the blender and use it to “clean” out your blender at the end. So if the recipe calls for 4 cups water, make your milk with 3 cups, then pour that mixture into your nut milk bag.
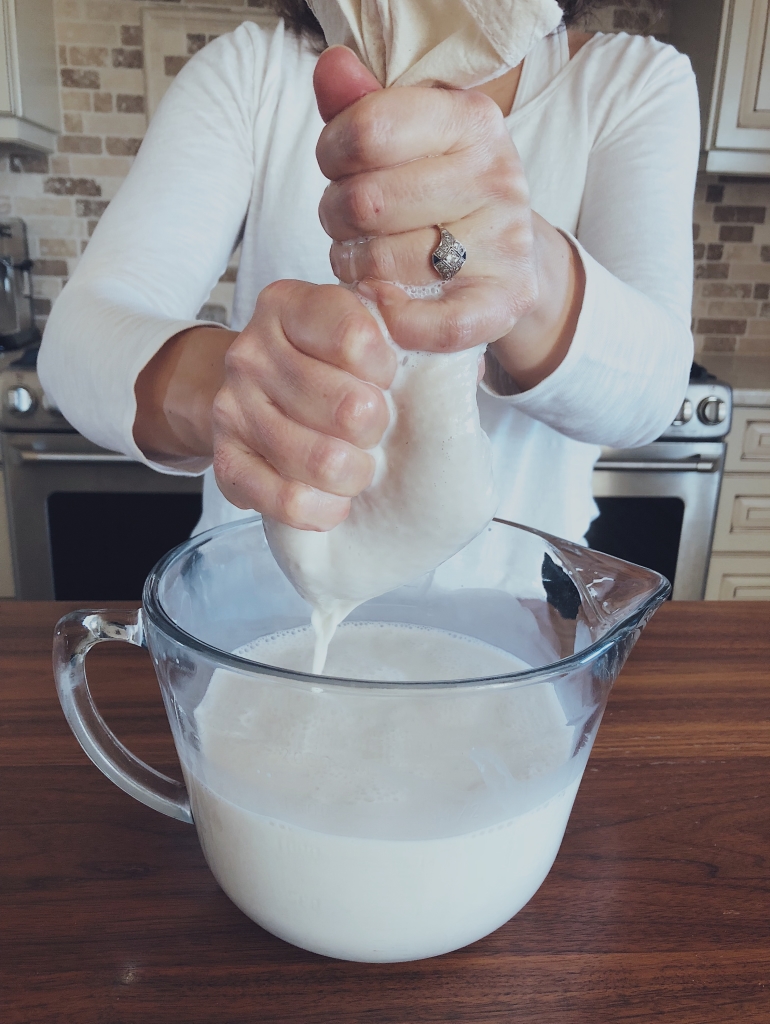
Use the remaining 1 cup of water in your blender to clean out any excess pulp from the first time. Pour this water into your nut bag and now you can start squeezing! This is the hardest part of making any nut or seed milk. Make sure you squeeze it well so there’s little liquid left in your pulp.
DO NOT THROW OUT THE PULP!! You can easily store leftover pulp in an air-tight container in the fridge or freezer to use in other recipes later (muffins, pancakes, granola, smoothies, oatmeal, etc.). Just google almond pulp recipes – there’s thousands. Most of the time, you an use any nut/seed milk pulp in place of any recipe that calls for almond pulp.
Milk will last in the fridge for about 3-5 days. Trust me, you will know when it’s not good anymore (it has a very distinct smell).
Expect your milk to separate as it sits in the fridge. Because it has no additives or emulsifiers, it will separate as it sits. No need to worry, just shake it up right before use.
Flavouring Your Milk
There are hundreds of different ways you can make these milks. You can easily add a dash of cinnamon, or some pumpkin spice for a nice seasonal drink. If you want to make chocolate milk, simply add 2 tbsp of cacao! Once you get comfortable making some basic milks, you’ll have so much fun playing around with this!
You can also EASILY add in a very small handful of different nuts and seeds (that may not be your favourite taste, but are FULL of amazing nutrients) to your milk. By adding in a small amount, you won’t affect the taste of your milk, but you’ll get all the nutrients!! For example, I’d easily throw in a brazil nut or two (make sure it’s soaked with your other nuts/seeds), or some pumpkin seeds (as I don’t personally care for the taste of the pumpkin milk).
Almond Milk
Ingredients:
- 1 cup almonds (soaked, strained and rinsed)
- 5 cups water
- 2 dates (pitted)
- 1 tsp vanilla extract (or pinch of vanilla powder)
- 1/4 tsp sea salt
Directions:
Place the soaked, strained and rinsed almonds in your blender. Top with water, sweetener of choice (dates in this case), and salt.
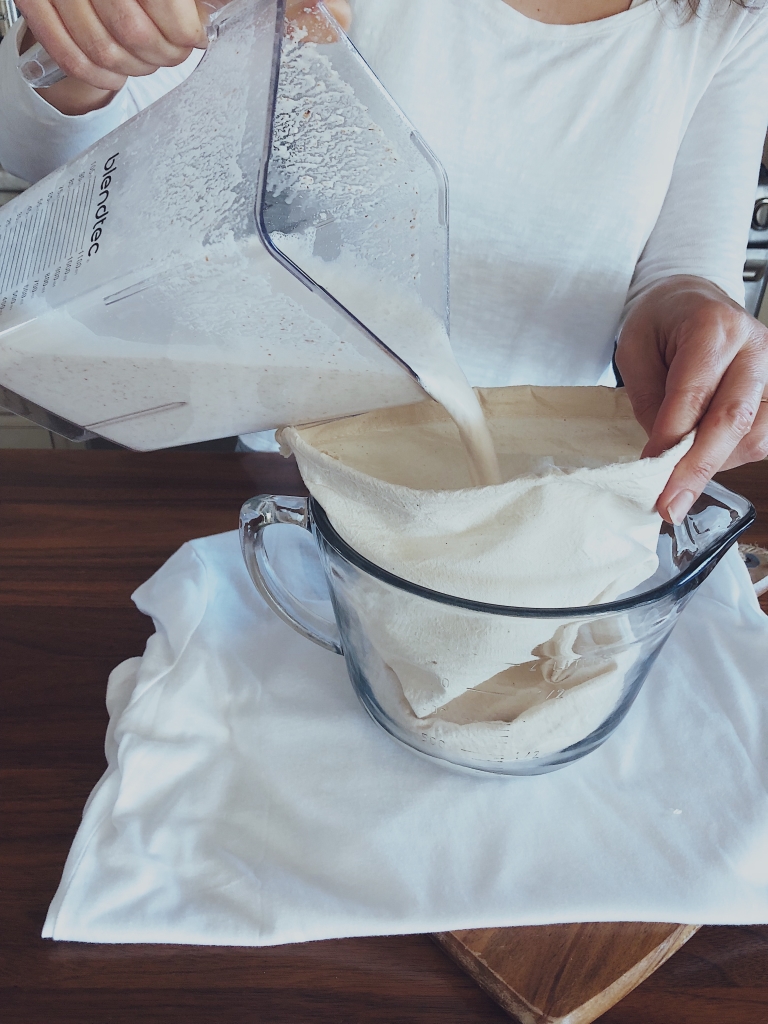
Blend on high for about a minute, until milk is formed. Set your nut milk bag in a bowl (I use a glass bowl with a spout so it’s easier to pour the milk out after). Pour your milk through the nut milk bag.
Now start squeezing. The more milk you can squeeze out the better. Pour strained milk into a glass jar for storage in the fridge. Clean out the pulp in your nut milk bag.
Enjoy the creamy goodness!!
Almond Coconut Milk
Ingredients:
- 1 cup almonds (soaked, strained and rinsed)
- 1/2 cup unsweetened shredded coconut
- 5 cups water
- 2 dates (pitted)
- 1 tsp vanilla extract (or pinch of vanilla powder)
- 1/4 tsp sea salt
Directions:
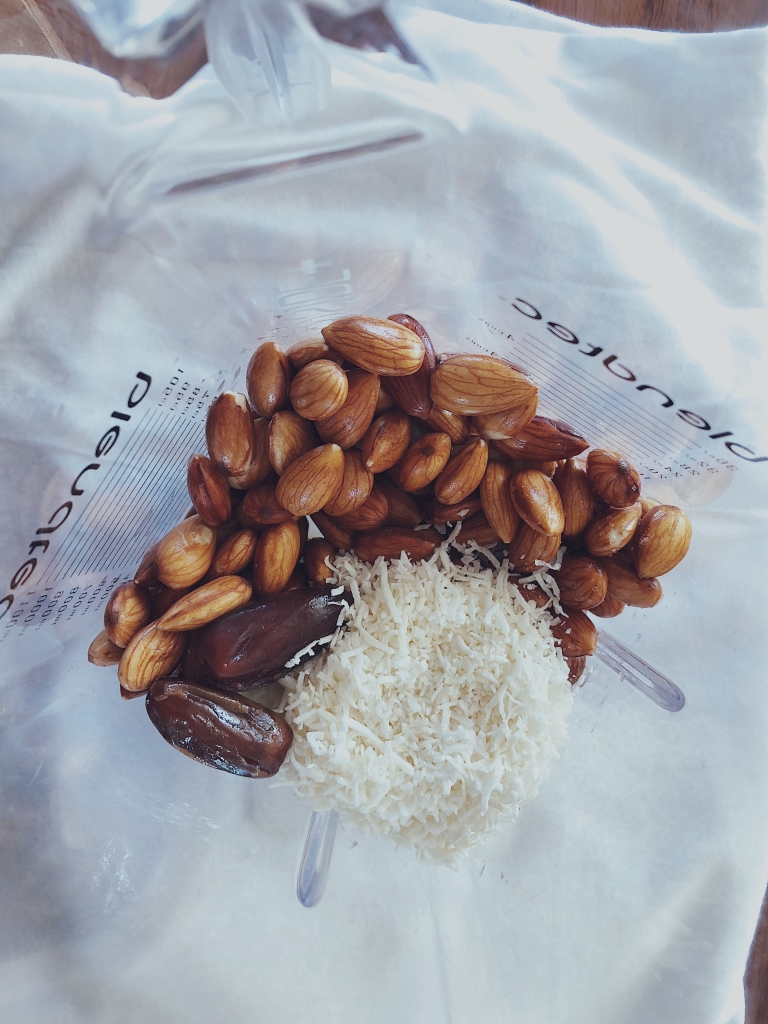
Place the soaked, strained and rinsed almonds in your blender. Top with water, sweetener of choice (dates in this case), shredded coconut and salt.
Blend on high for about a minute, until milk is formed. Set your nut milk bag in a bowl (I use a glass bowl with a spout so it’s easier to pour the milk out after). Pour your milk through the nut milk bag.
Now start squeezing. The more milk you can squeeze out the better. Pour strained milk into a glass jar for storage in the fridge. Clean out the pulp in your nut milk bag.
We love the slight coconutty flavour!!
Cashew Milk
Ingredients:
- 1 cup cashews (soaked, strained and rinsed)
- 4 cups water
- 1 to 2 tbsp maple syrup (adjust to your liking)
- 1 tsp vanilla extract (or pinch of vanilla powder)
- 1/4 tsp sea salt
Directions:
Place the soaked, strained and rinsed cashews in your blender. Top with water and remaining ingredients.
Blend on high for about a minute, until milk is formed. (Note this milk DOES NOT have to be strained!!)
Pour milk into a glass jar for storage in the fridge.
I think this has to be my favorite milk 🙂
Hemp Milk
Ingredients:
- 2/3 cup hemp seeds (do not need to be soaked)
- 4 cups water
- 1 date (pitted)
- 1 tsp vanilla extract (or pinch of vanilla powder)
- 1/4 tsp sea salt
Directions:
Place all ingredients in blender.
Blend on high for about a minute, until milk is formed. (Note this milk DOES NOT have to be strained!!)
Pour milk into a glass jar for storage in the fridge.
Tips & Ideas:
Personally, I don’t care for the taste of hemp milk (it taste like wheat chaff to me or something). However, it is MY FAVOURITE milk to make for smoothies. (ideally because you can’t taste it in smoothies, and you still get the “creaminess” of milk).
My theory is why waste the good tasting, expensive nut milks (especially when you have to go through the work of straining most of the recipes) in a smoothie when you can’t taste it anyways! Plus there’s LOADS of plant-based protein in this milk!!
Pecan Milk
Ingredients:
- 1 cup pecans (soaked, strained and rinsed)
- 4 cups water
- 1 to 2 tbsp maple syrup (adjust to your liking)
- 1/2 tsp vanilla extract (or pinch of vanilla powder)
- dash sea salt
Directions:
Place the soaked, strained and rinsed pecans in your blender. Top with water and remaining ingredients.
Blend on high for about a minute, until milk is formed. (Note this milk DOES NOT have to be strained!!)
Pour milk into a glass jar for storage in the fridge.
Pumpkin Seed Milk
Ingredients:
- 1 cup raw pumpkin seeds (soaked, strained and rinsed)
- 4 cups water
- 1 to 2 tbsp maple syrup (adjust to your liking)
- 1/2 tsp vanilla extract (or pinch of vanilla powder)
- 1/4 tsp sea salt
Directions:
Place all ingredients in blender.
Blend on high for about a minute, until milk is formed.
This milk can be strained or not, depending on your preference. Taste it without straining it, and see if you like it. There’s more nutrients in the milk if you don’t strain it. However, it’s rather “pulpy”. Strain if you prefer.
Pour milk into a glass jar for storage in the fridge (and don’t be alarmed – milk will be slightly green).
I think this would be an EXCELLENT smoothie milk as it’s so creamy, and you wouldn’t taste the additional pulp mixed in a smoothie!
Walnut Milk
Ingredients:
- 1 cup walnuts (soaked, strained and rinsed)
- 4 cups water
- 2 dates
- Dash sea salt
Directions:
Place the soaked, strained and rinsed walnuts in your blender. Top with water and remaining ingredients.
Blend on high for about a minute, until milk is formed. (Note this milk DOES NOT have to be strained!!)
Pour milk into a glass jar for storage in the fridge.




Leave A Comment